LEMOSHO ROUTE

Overview:

The Lemosho route is one of our preferred routes due to its low traffic, beautiful scenery, and a high summit success rate. The route starts far from the west, beginning with a long drive from Moshi to Londorossi Gate. From there, the first two days are spent trekking through the lush rainforest to Shira Plateau. We recommend a minimum of 7 days to attempt this route, but 8 days is preferable for better acclimatization and summit success. The Lemosho route joins the Machame route at Shira 2 Camp and then follows the same route through the Southern Circuit and descending at Mweka Gate.

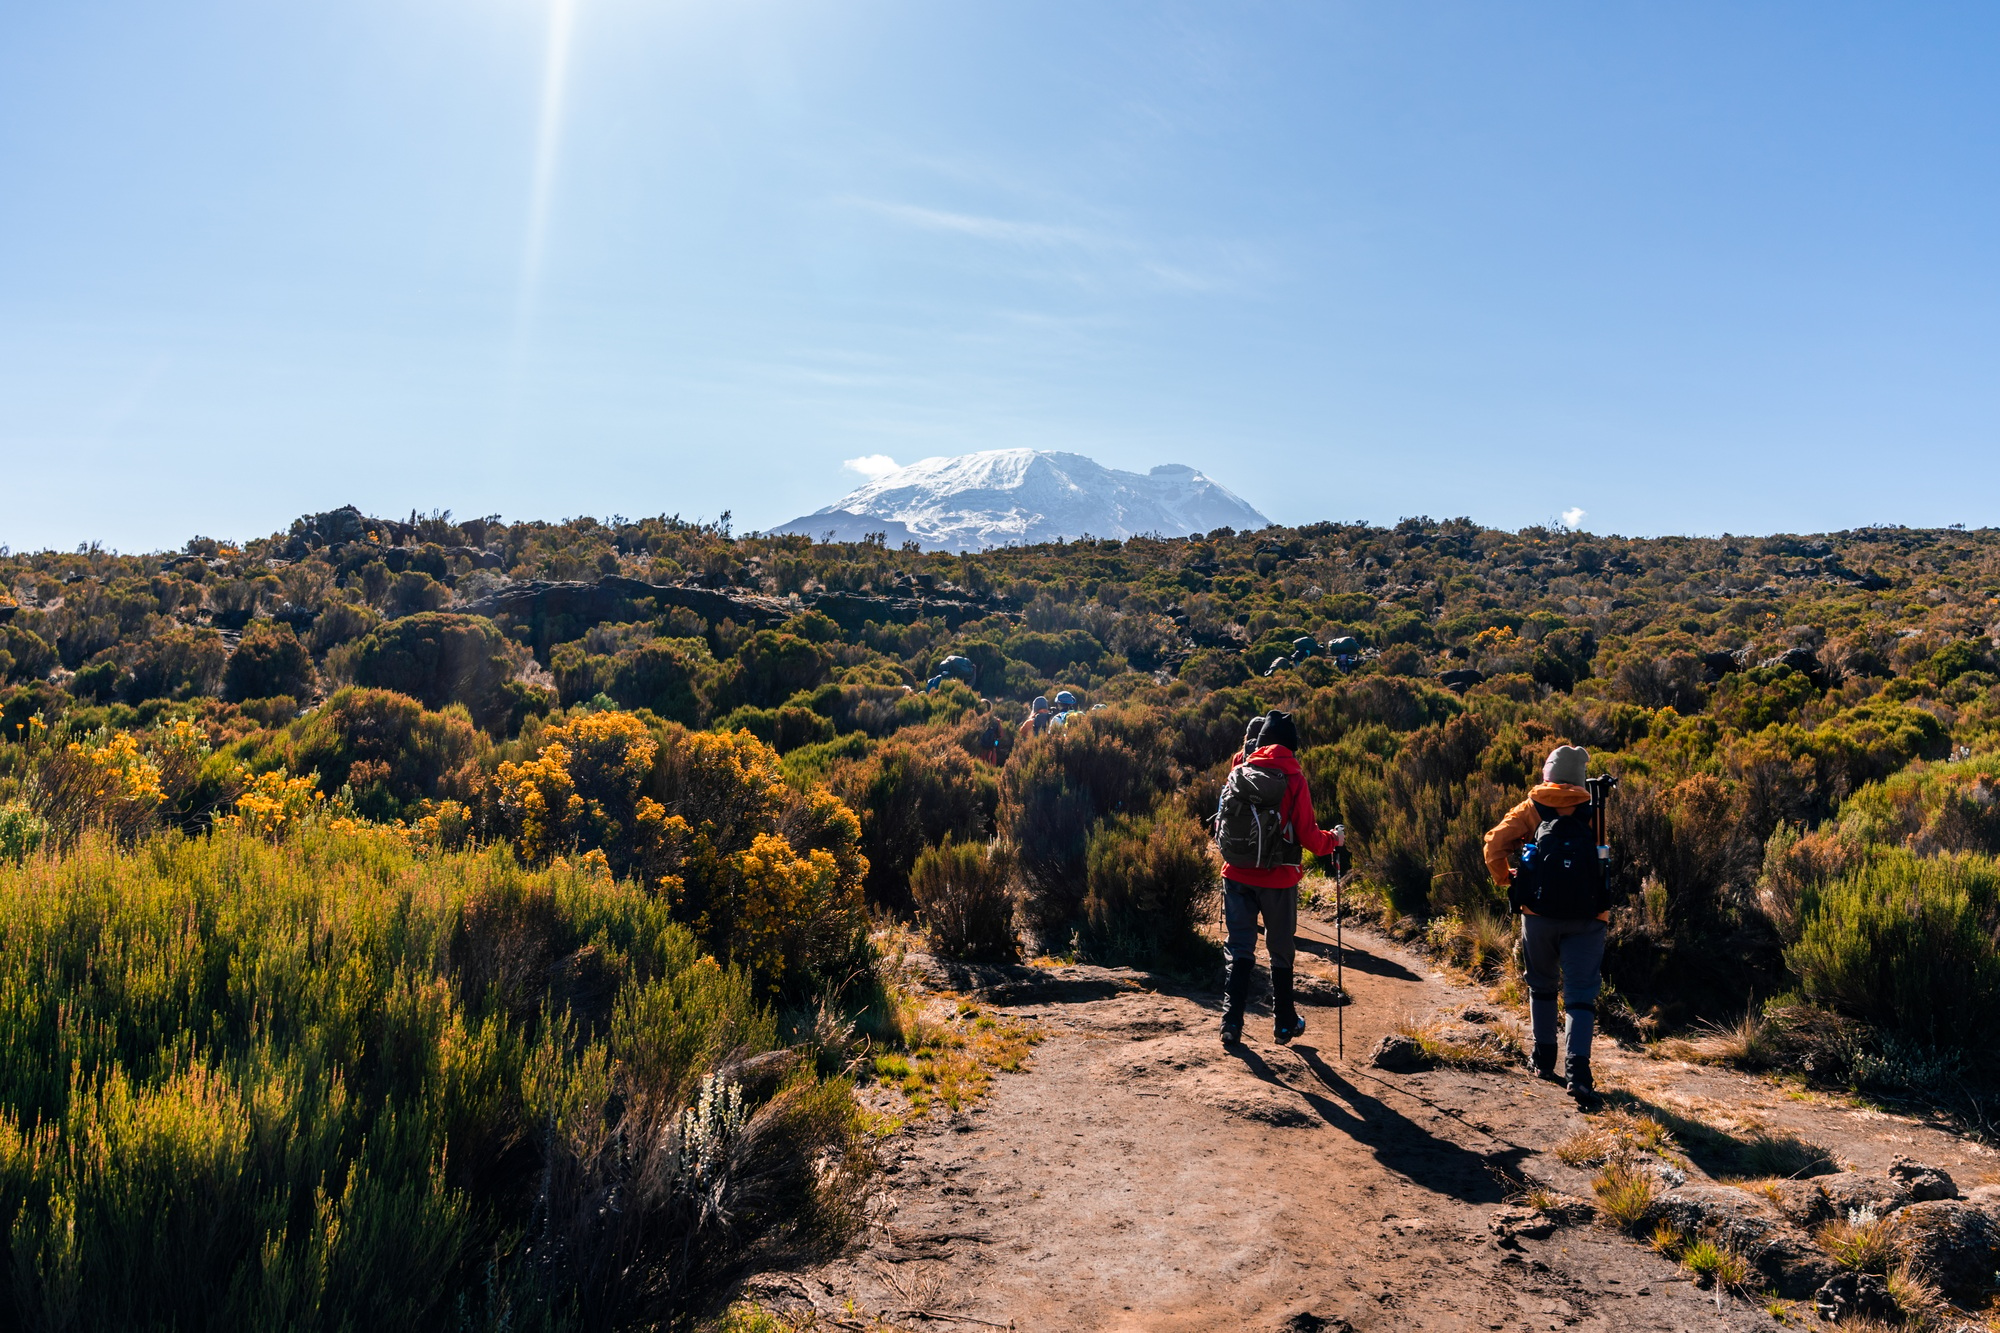
Group of trekkers hiking in Kilimanjaro

LEMOSHO ROUTE (8 Days)

DAY 1:

Lemosho Glades (2100m) > Big Tree Camp (7km, 3hrs, 700m altitude gain)

DAY 2:

Big Tree Camp (2800m) > Shira 1 (10km, 6-7hrs, 850m altitude gain)
DAY 3:

Shira 1 (3505m) > Shira 2 (3850m) (8km, 3-4hrs, 200m altitude gain)

DAY 4:

Shira 2 (3850m) > Barranco Camp (3960m) (10km, 6-7hrs, 700m up, 600m down)

DAY 5:

Barranco Camp (3960m) > Karanga Camp (3963m) (6km, 3-4hrs, 250m down, 250m gain)

DAY 6:

Karanga Camp (3963m) > Barafu Camp (4600m) (4km, 3-4hrs, 650m altitude gain)

DAY 7:

Barafu Camp (4600m) > Uhuru Peak (5895m) > Millennium Camp (3730m) (19km, 12-14hrs, 1295m up, 2105m down)

DAY 8:

Millennium Camp (3730m) > Mweka Gate (1660m) (13km, 5-6hrs)

LEMOSHO ROUTE (7 Days)

DAY 1:

Lemosho Glades (2100m) > Big Tree Camp (2800m) (7km, 3hrs, 700m altitude gain)

DAY 2:

Big Tree Camp (2800m) > Shira 2 (3850m) (16km, 7-8hrs, 1050m altitude gain)

DAY 3:

Shira 2 (3850m) > Barranco Camp (3960m) (10km, 6-7hrs, 700m up, 600m down)

DAY 4:

Barranco Camp (3960m) > Karanga Camp (3963m) (6km, 3-4hrs, 250m down, 250m gain)

DAY 5:

Karanga Camp (3963m) > Barafu Camp (4600m) (4km, 3-4hrs, 650m altitude gain)

DAY 6:

Barafu Camp (4600m) > Uhuru Peak (5895m) > Millennium Camp (3730m) (19km, 12-14hrs, 1295m up, 2105m down)

DAY 7:

Millennium Camp (3730m) > Mweka Gate (1660m) (13km, 5-6hrs)